Reveal |
| |
|
|
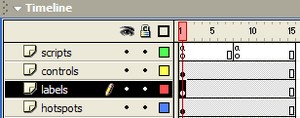
- Click on frame 1 of the labels layer
to ensure that you are only working on it.
This organisation will start to become important
as more movie clips start to be arranged over
the image.
|
|
| |
|
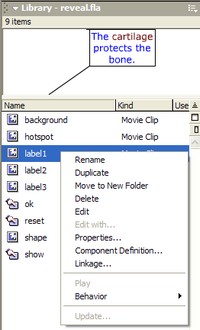
- Make sure that you can see the library (F11 toggles it on and off).
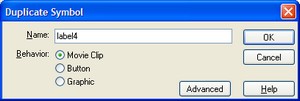
- Right-click on label1 and
select Duplicate.
- Edit the name of the movie clips (e.g. label2 etc)
in the dialog box and check that it will behave
as a movie clip.
- Select OK and the copy will
appear in the library.
- Now double-click on the new label (or label1 if
you are altering that onefor your own context)
to open it in the editing window.
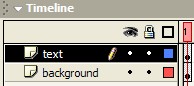
- Its timeline has two layers; text and background.
Select the text layer and
lock the background layer
to avoid altering it by mistake.
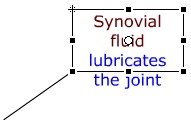
Select the text tool from
the toolbox and click into the movie clip's
text box to add your own text label.
- Now select the background layer
and lock the text layer.
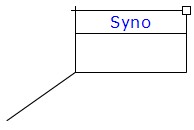
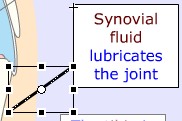
- The layer has a background shape and a labelling
line. Start by using the free transform
tool to resize the background shape
to fit the text. Remember that it contains
an instance of the shape movie
clip so edit that separately if you want to
change the colour and border.
- Leave the labelling line alone at this stage
so close the editing window to go back to
the stage by holding down the Ctrl key
and pressing E.
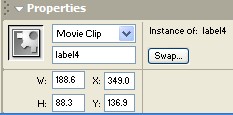
- If you have been creating a new label, drag
an instance of it from the library onto the
stage and position it appropriately for the
item it is labelling. Don't worry about the
labelling line yet. Single-click on it and
then name it using the same convention (label1,
label2 etc) in the properties window.
|
|
| |
|
- The
final bit of editing is done on the stage so
that the labelling line is properly sized and
pointing in the right direction.
- Double-click on the label on the stage to edit
it in place (or right-click and select edit
in place from the menu that appears).
- The rest of the stage is greyed out and the
movie clip is now ready to edit just as if you
had selected it in the library. The difference
is that you can see it in its proper context.
- The movie timeline has been replaced with that
of the movie clip, select the background layer
and then use the free transform tool to
select the labelling line.
- Use the tool to resize, move and angle it to
point at the correct part of the diagram by using
the handles on the shape.
- Finally use Ctrl +E to
stop editing and go back to the stage.
|
|
| |
|
Next
- Adding hotspots |
|
| |