Pairs
This Flash document is adapted for different contexts by editing the content of a set of 24 symbols in the library. This example uses text boxes but these instructions also briefly deal with adding images.
The movie will run with the code left as it is but it is there for you to adapt as you wish.
I have used the activity as a whole class plenary, students swapping after each pair and the rest helping by suggesting matches.
However, it is probably better used for review by individual students at home or in the computer room as part of a more extended activity.
I have also used it for a class investigation on learning.
- Download the file to a suitable folder on your
local drive.
- Open it up in Flash and open up the library
window (F11 toggles it on and off).
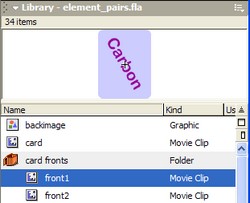
- Look for the folder called card fronts. Double click on it to open it up.
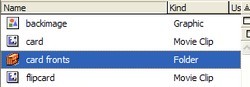
- Each symbol (front1, front2 etc.) contains the text or image of the card face. They are arranged in pairs so front1 pairs with front2 and front3 goes with front4 etc. This is important!
- Double-click on front1 to
edit it in the main window. The content layer
in its timeline is the one to select. It is a
good idea to lock the background layer
first so this is not changed.
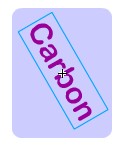
- The static text box in the centre is selected and you can use the text tool and edit its contents or go to the properties window to make other changes.
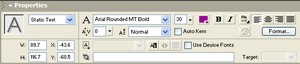
I used the Free Transorm Tool to rotate the text so that it fitted the available space better.
- Work your way through the twelve pairs of card fronts, editing their content for your activity.
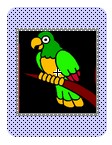
The second example uses images ans well as text on the card fronts.
The card fronts are edited in the same way but the text box is deleted from the content layer of each of the cards holding an image and a small jpeg was imported onto the layer in its place.
The images are kept to a maximum 80 pixels width and 100 pixels height so that they fit the cards and so that the size of the final movie is reasonably small.
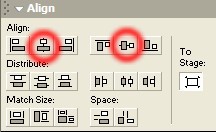
The align toolbar (windows > align or Ctrl + K) is very useful to ensure that the images were all properly centred on the background.
Select the background and the image by holding down the shift key as you click on each object.
Make sure that the To Stage button is selected and then click on the two buttons in the Align section so that both are aligned vertically and horizontally.