Adding hotspots
| Click on frame 1 of the hotspots layer. Select Insert and then New Symbol... In the Create New Symbol dialog, name the symbol hotspot and make sure that Movie Clip is selected before clicking on OK. The stage disappears and is replaced by the symbol's edit window. Select the Rectangle Tool and set the line property to transparent and the fill property to pale yellow. |
 |
Draw a small rectangle in the edit area and then hold down the Ctrl key as you tap E to return to the stage. |
|
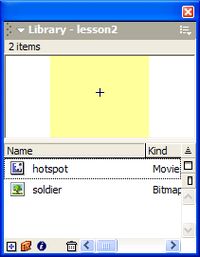
Press F11 to bring up the library window. The hotspot symbol will be listed, along with the image that you imported earlier. Select the hotspot symbol and then drag it onto the stage. You have created an instance or copy of the symbol. It will act as an area on the image that will respond to mouse actions such as rollovers and clicks. Click on the hotspot copy on the stage enter shield in the Instance Name box of its properties. It isn't really necessary to name the copy like this since you won't be referring to it using ActionScript but it helps to keep track of the objects on the stage. |
 |
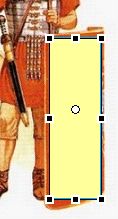
Drag the hotospot symbol over the shield on the image and then select the Free Transorm Tool from the toolbar. Use the handles to change the size of the symbol until it more or less covers the shield. The symbol will detect movements of the mouse over the shield and some ActionScript will handle the way that the movie responds. |
 |
Select the Arrow tool from the toolbar and click on the shield hotspot to select it. In the Properties pane, click on the Color Styles list and select the Alpha property. Drag the slider down to 0% and the hotspot will become transparent so that the user won't see it over the shield. |
|
